How Do I Add a Drop Shadow Effect to a Box?
Drop shadows can enhance any object on your website page. The shadow appears behind the object, which makes your primary object appear raised. Choose a color that will enhance and complement your object and then determine where you want the shadow effect to appear.
Follow these steps to learn how to add a drop shadow to an object:
-
Click any object on your website page—content, image, media, apps, social, or a document.
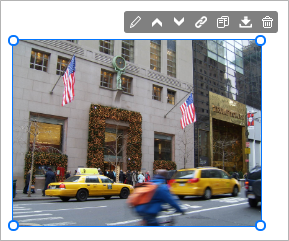
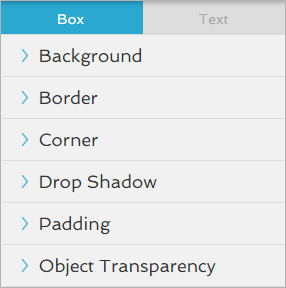
The settings panel opens on the right side of the Website Builder.
-
Click the
 icon to open the Drop Shadow settings.
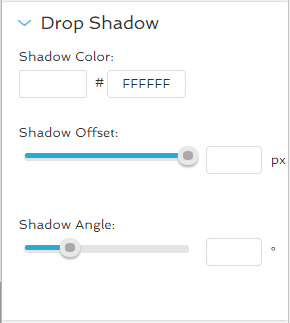
- In the Shadow Color field, enter the hexadecimal value of the color, or use the color picker.
- Click the desired color from the picker, which automatically updates the Red, Green, Blue, and Alpha color values and also the hexadecimal value.
- Type the hexadecimal value of the color in the field.
- Click the OK button to close the color picker.
- Under Shadow Offset, use the slider to specify the distance of the shadow from the box.
-
Under Shadow Angle, click and drag the circle's blue handle around the circle.
- Note: If your offset is large enough, you will see the shadow move around your box as you drag the handle.
- Click the
 icon to close the Drop Shadow settings.
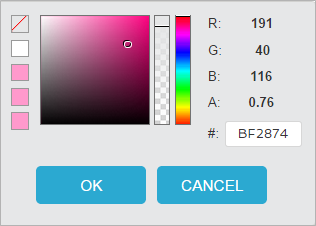
In the color picker, you can either:
Then move your mouse to the left or right to determine the location of where the angle appears: top, bottom, left or right of the box.
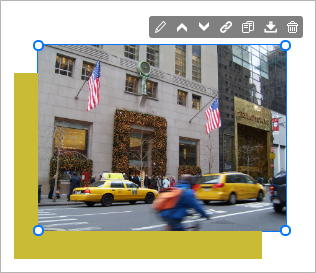
A shadow effect is added to the box.